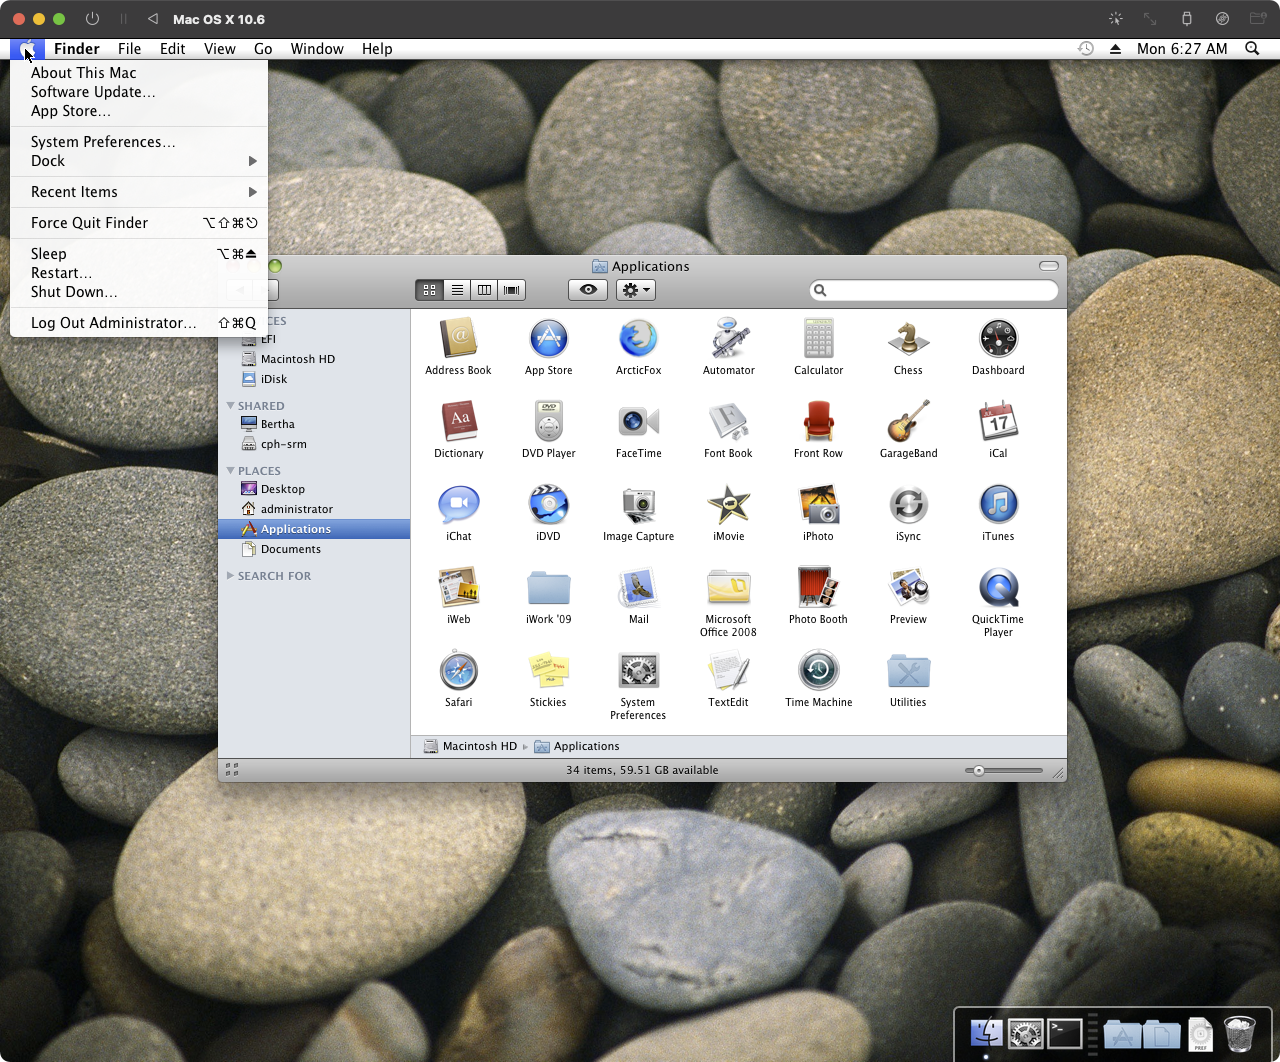
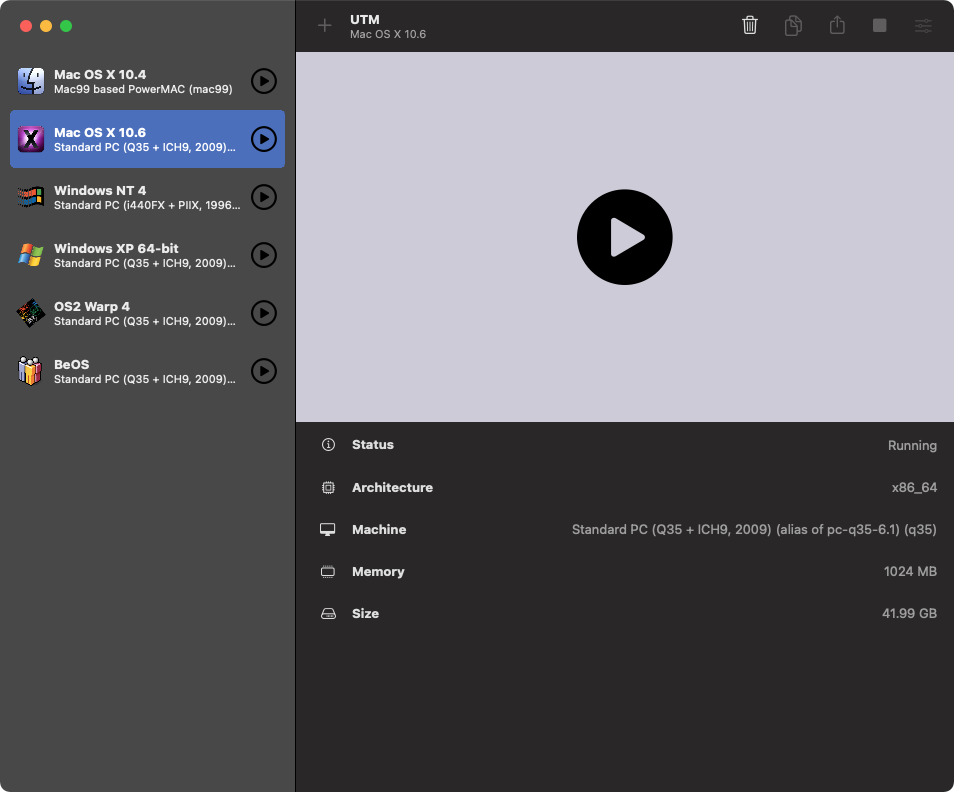
UTM is a frontend for QEMU that works on Mac and iOS.

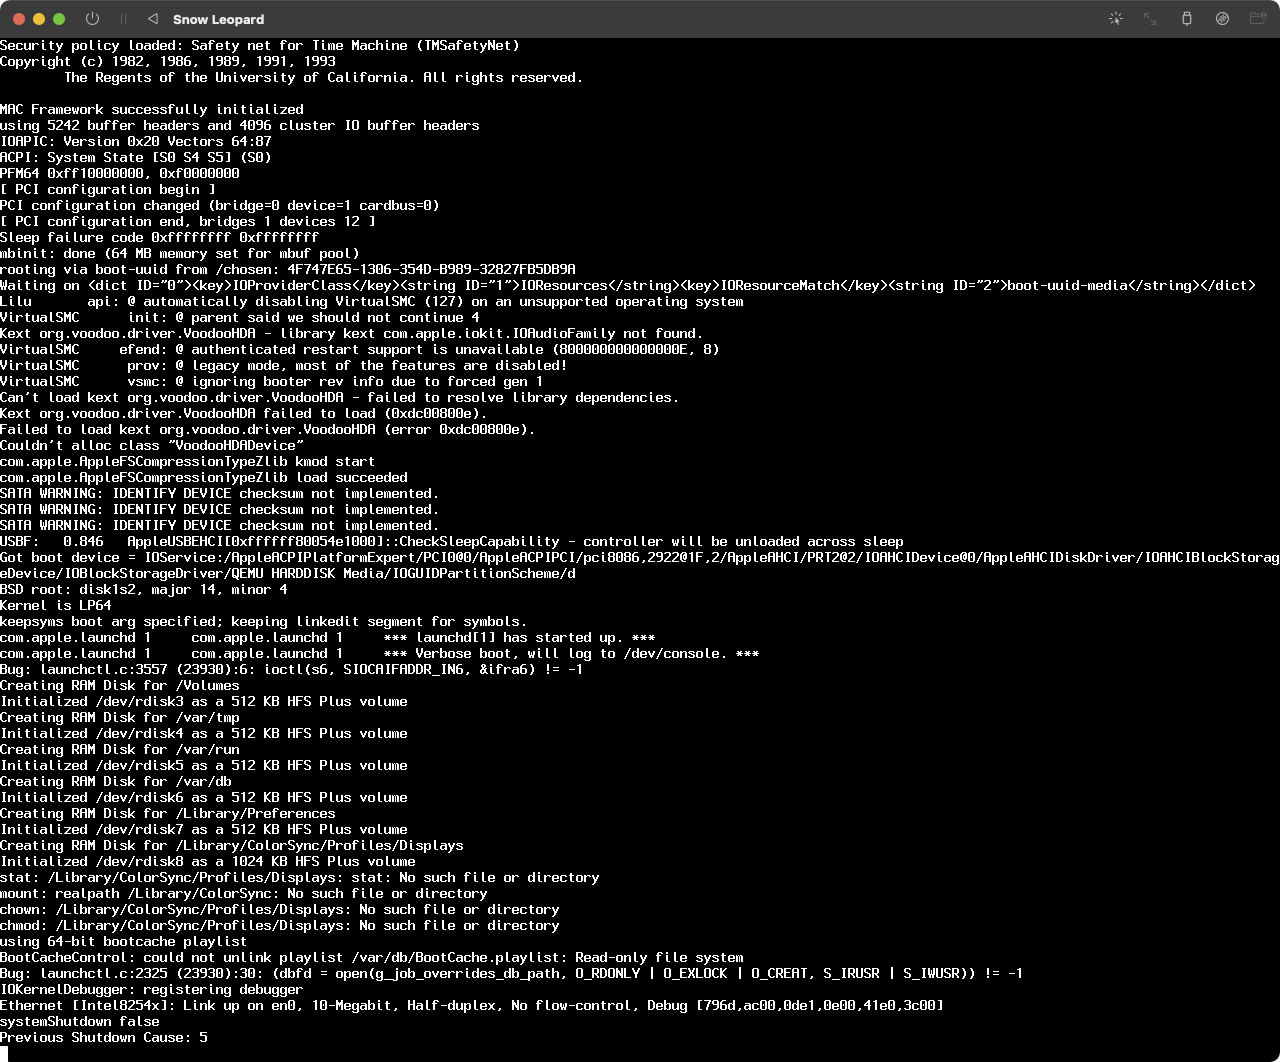
I’ve been working to get Snow Leopard running in UTM (by extension, it would probably also work in QEMU, too). Here’s how to do it.
For this process, I’ll be saving everything to /tmp
. If you are storing files elsewhere, update the paths appropriately.
You’ll need qemu-img
, which is provided by QEMU. I installed QEMU via brew:
$ brew install qemu
Source a installer disk image
I downloaded the 10.6.7-10J4139-ACDT-OSX.dmg
disk image from the Internet Archive.
curl https://ia801802.us.archive.org/18/items/10.6.7-10j3250-disk-images/10.6.7-10J4139-ACDT-OSX.dmg -O /tmp/10.6.7-10J4139-ACDT-OSX.dmg
Mount the disk image:
$ hdiutil mount /tmp/10.6.7-10J4139-ACDT-OSX.dmg
Checksumming весь диск (Apple_HFS : 0)...
...............................................................................
весь диск (Apple_HFS : 0): verified CRC32 $39AD4D29
verified CRC32 $7AA20F20
/dev/disk4 /Volumes/Mac OS X Install DVD
This will mount the disk image to /Volumes/Mac OS X Install DVD
.
Use ASR to restore disk image to a new disk image
This step is required because it creates the EFI boot partition in the disk image.
Create a blank read-write disk image:
$ hdiutil create -size 10G -fs HFS+ -volname utm_installer /tmp/sl_utm.dmg
created: /tmp/sl_utm.dmg
… and mount it:
$ hdiutil mount /tmp/sl_utm.dmg
/dev/disk5 GUID_partition_scheme
/dev/disk5s1 EFI
/dev/disk5s2 Apple_HFS /Volumes/utm_installer
… which mounts the blank disk image to /Volumes/utm_installer
.
Then, use Apple System Restore to write the installer to the read-write disk image:
$ sudo asr restore \
-source /Volumes/Mac\ OS\ X\ Install\ DVD \
-target /Volumes/utm_installer \
-erase -noverify
Enter y
when prompted.
Validating target...done
Validating source...done
Erase contents of /dev/disk5s2 (/Volumes/utm_installer)? [ny]: y
Validating sizes...done
Restoring ....10....20....30....40....50....60....70....80....90....100
Restored target device is /dev/disk5s2.
Remounting target volume...done
Restore completed successfully.
Eject all the disk images:
$ hdiutil eject /Volumes/Mac\ OS\ X\ Install\ DVD
"disk4" ejected.
$ hdiutil eject /Volumes/Mac\ OS\ X\ Install\ DVD\ 1
"disk5" ejected.
Convert new disk image to CDR master
Now, we need to convert the disk image to a CDR master:
$ hdiutil convert /tmp/sl_utm.dmg -format UDTO -o /tmp/sl_utm.cdr
Reading Protective Master Boot Record (MBR : 0)...
Reading GPT Header (Primary GPT Header : 1)...
Reading GPT Partition Data (Primary GPT Table : 2)...
Reading (Apple_Free : 3)...
Reading EFI System Partition (C12A7328-F81F-11D2-BA4B-00A0C93EC93B : 4)...
..
Reading disk image (Apple_HFS : 5)...
.........................................................................................................................
Reading (Apple_Free : 6)...
Reading GPT Partition Data (Backup GPT Table : 7)...
.........................................................................................................................
Reading GPT Header (Backup GPT Header : 8)...
.........................................................................................................................
Elapsed Time: 54.014s
Speed: 189.6MB/s
Savings: 0.0%
created: /tmp/sl_utm.cdr
Convert CDR master to raw disk image
Finally, we need to convert the ISO into something that can be mounted by UTM (/qemu). This step might not be required since the changes in removable drive handling in UTM v2.4.0, but is included here for posterity:
$ qemu-img convert -p /tmp/sl_utm.cdr -O raw sl_utm.img
(100.00/100%)
Source EFI boot volume
We’re essentially creating a Hackintosh, so you’ll need some sort of boot loader to boot Mac OS X on “standard” PC hardware. OpenCore is the most commonly used boot loader at the moment, and is responsible for loading any third-party kexts and patches to boot OS X.
It’s complex, so I have shared my OpenCore boot image on Mega to make this a little easier. Not entirely sure if I’m even close to following best practice, but it boots okay regardless.
Download the boot loader and save it to /tmp
(or wherever, I don’t care).
Profit!
It’s time to create a new virtual machine in UTM. Let’s get cracking:
- System
- Architecture: x86_64
- System: Standard PC (Q35 + ICH9, 2009) (alias of pc-q35-6.1) (q35)
- Memory: 1024 MB
- ☑️ UEFI Boot
- CPU: Penryn
- CPU Flags: sse4.1, sse4.2, ssse3
- Drives
- Create a New Drive large enough to hold your Snow Leopard installation, plus any apps that you want to install
- Import the
efi.img
you downloaded from Mega - Import the
sl_utm.img
you created from the installation disk image earlier.
- Display
- Emulated Display Card: vmware-svga
- Network
- Use whatever Network Mode you like. I use Bridged so I can access shared drives on my local network.
- Emulated Network Card: Intel Gigabit Ethernet (e1000)
- Sound
- Emulated Audio Card: Intel HD Audio Controller (ich9) (ich9-intel-hda)
- Sharing
- Maximum Shared USB Devices: 0
- I set this to zero as I don’t use shared USB devices with this virtual machine. I haven’t tested it, so your milage may vary if it’s set to anything else.
Start the virtual machine. OpenCore will boot the the Install Mac OS X
volume by default. A bit of verbose boot will scroll past:
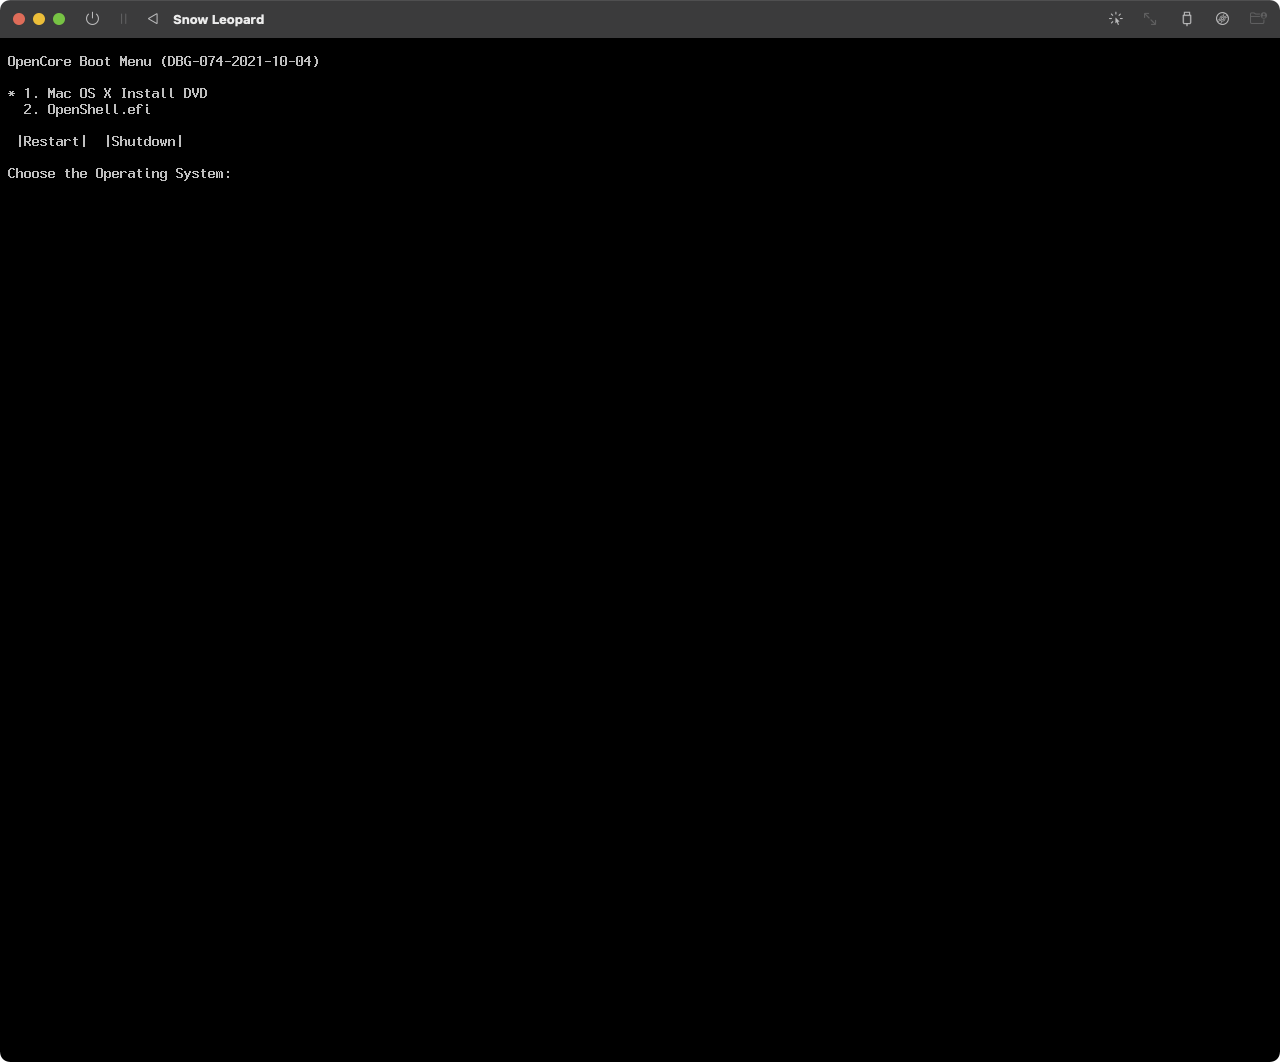

… but you’ll eventually be met by the Snow Leopard installer:
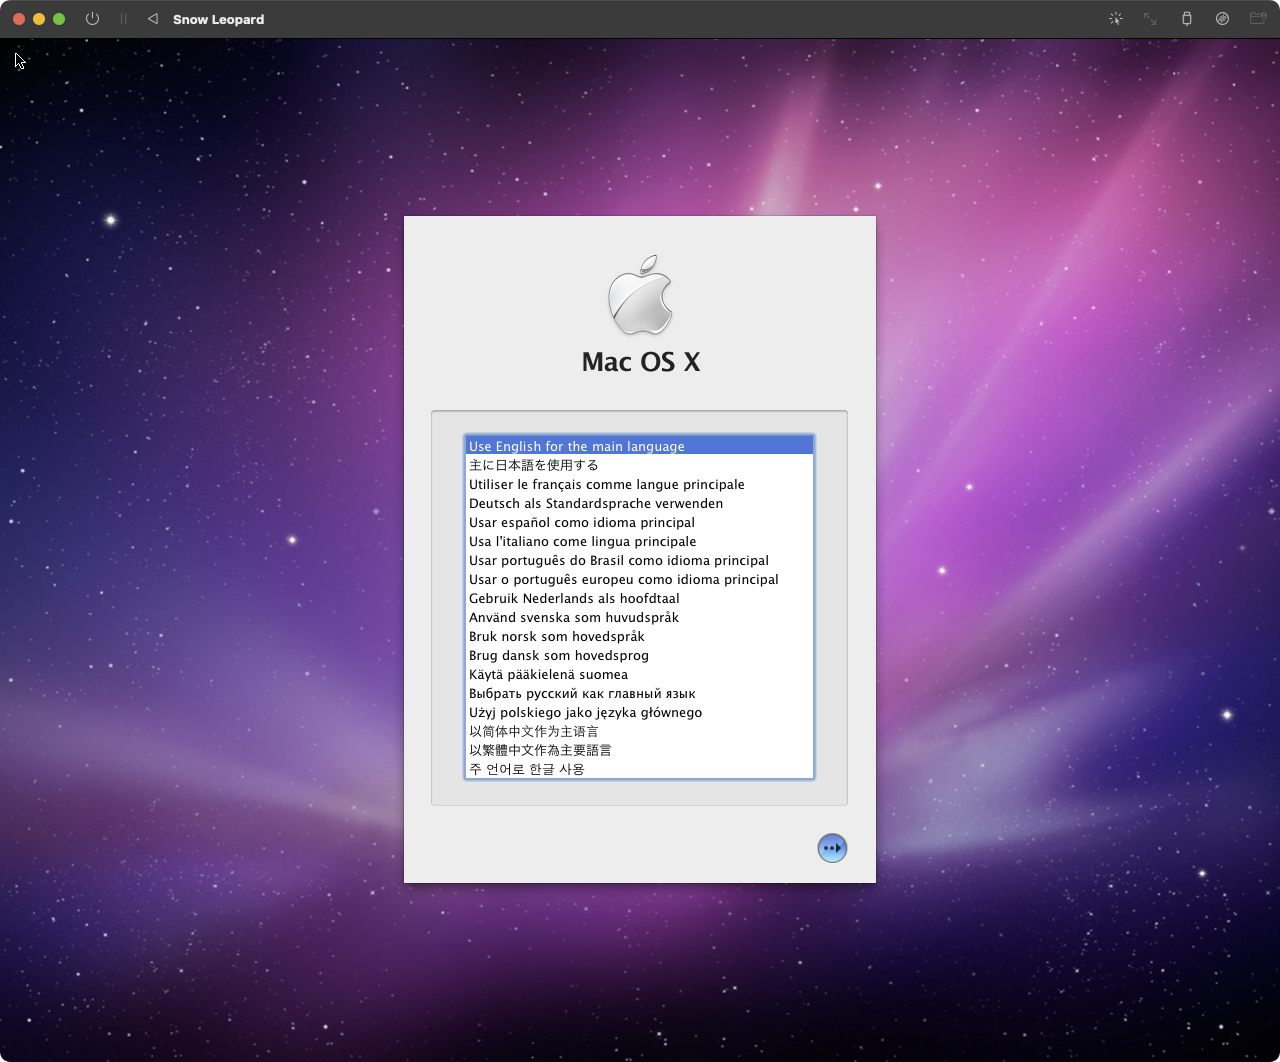
Follow the installation process as normal, and after completing the out-of-box process you’ll end up at the desktop.
Changelog
- 2022-03-22: thanks to Rick in the comments and Kyle in the Discord for identifying a fault with the OpenCore EFI image I provided. It looks like the default
HfsPlus.efi
driver works great on an Intel Mac with the hypervisor enabled, but on an M1 Mac it fails to boot to the OpenCore OS list. I changed the driver toVBoxHfs.efi
, and it now works on an Intel Mac with the Hypervisor both enabled and disabled, and on an M1 Mac. I updated the link to point to the new EFI image.
Thank for the great post! I can’t get it to boot into the installer without a kernel panic first. I tried you method to perfectly, and well as some variation. I even used a disk image from a clean install of Snow Leopard on a real Mac. I have a screenshots and the config file at the below link. I’m also able to get a more details view of the panic when I use EFI-LEGACY.img. I’m not sure if you can help me, but I’d really appreciate it. Thank you!
https://drive.google.com/file/d/1vERmbChNo9zSAxPqX1kLN2BUgKXoYl3F/view?usp=sharing
Update: I went back to the original version that think mirror your’s exactly. Sorry, the other one was a later revision. I’m still getting the error. I have the screenshots here: https://drive.google.com/file/d/1MEONw89txKRxNl6f2FO2mZ6yWTRyZKNE/view?usp=sharing
Hey Rick— I can’t download your second Google Drive file, but looking at the first one it looks like your CPU isn’t set to Penryn. This is what my System tab looks like.
Pop into the Discord and you might be able to get some real-time assistance.
Thanks! Ok, so mine is identical in the 2nd set of screenshots (that you wren’t able to look at before). I have the link again below, hopefully it’s fixed now. If not, I can upload somewhere else.
And thank you, I really appreciate this post and your help.
https://drive.google.com/file/d/1MEONw89txKRxNl6f2FO2mZ6yWTRyZKNE/view?usp=sharing
Hey Rick— it looks like it’s hanging on something to do with disk access, as it mentions driver HfsPlus.efi in the second-to-last console line.
This makes me think something is out of place in your Drives tab in your VM settings. I can see yours is showing attached to the USB interface. Mine is attached to IDE interface.
Could you try changing both your boot disk image and the EFI image to IDE?
Hey Rick— another user is having the same problem as you. On further investigation, it looks like it doesn’t work when the hypervisor is disabled: this means it won’t work on an M1 Mac! I have been testing on an Intel Mac, so of course I wouldn’t have the same problem.
I am working on updating the OpenCore EFI to work on an emulated i386. I’ll post an update if I have any success.
I think I have fixed the problem: it looks like the HfsPlus.efi driver is faulty when not using an x86_64 hypervisor.
I have updated the EFI-LEGACY.img to use VBoxHfs.efi, and it looks to work on my Intel iMac with hypervisor disabled.
You can download the updated EFI-LEGACY.img from Mega.
Let me know how you go!
Hey Adam, thanks so much! I’ve been on and off trying to get this working. That makes a lot of sense on the hypervisor. Unfortunately, my 2 Intel Macs are still running Catalina, and UTM need Big Sur or newer. My living room family Mac mini is an M1, and my work laptop is an M1 Pro, so that’s where I’ve been using UTM (since I have Snow Leopard running fine in VMWare on Intel).
So I just went through this all again 2 times, making new UTC files, but I keep getting the below kernel Panic after the sl_utm.img installer disk starts loading. It looks like Lilu is to blame.
Besides being on Apple Silicon, the only 2 things that may be different on my end was an “asr: Couldn’t personalize volume /Volumes/Mac OS X Install DVD 1 - State not recoverable” when doing the sudo asr restore, and the fact that I’m on UTM 3.1.5, which got a pretty good redesign recently, so some of the settings me a little different. I’m not sure what the “State not recoverable” error is, I started to look it up a little, and thinking maybe it’s having trouble saving the disk name as “Volumes/Mac OS X Install DVD 1”. Not sure.
Overall those 2 “issues” may not matter if it’s a KP caused by Lilu. I’ll try searching around to see if anyone’s run into this on a hackintosh or unsupported Mac Pro.
Thanks again!
Thank you for updating the efi file for m1 Macs. Has anyone managed to get this to work on an m1 MacBook Air? I still get a kernel panic after following these instructions.
I can’t get past a Kernel Panic either. Though, your’s is different from mine. I looked up your’s, all I really found was something to do with someone trying to install on a hackintosh (which is basically what we’re emulating), requiring them to use iBoot and swapping out the standard kernel. That probably won’t help up, but here the link: https://www.tonymacx86.com/threads/commpage-error.20648/
Did either of you ever find a solution for the kernel panic? I’m able to hit the “compare no match for last…” panic on an M1 MacBook Air
Nope. I just updated to UTM 3.2.4, and still having the same issue. I haven’t been able to figure out what is happening.
‘ve upgraded EFI to 0.8.4 because 0.8.3 supposedly fixes some things for legacy systems. On M1, still getting the kernel panic with UTM 4.0.6RC.
Same problem here. Anyone found a solution?
I want this to work so bad but it doesn’t for me. 16GB M1 macbook air. I get to a frozen screen that looks like this https://capture.dropbox.com/PnxqYiB49X5pc91V and doesn’t progress to the installer. If I rearrange the IDE drives in UTM I can get a Kernel Panic. Any advice?
Did you ever find a solution for getting this running on your M1?
No, I eventually just went with a Lion VM
Well, I’m still plugging away at this. I’ve upgraded EFI to 0.8.4 because 0.8.3 supposedly fixes some things for legacy systems. On M1, still getting the kernel panic
Here’s the dump:
panic(cpu 1 caller 0xffffff80002d11f4): Kernel trap at 0xffffff8000476967, type 13=general protection, registers: CR0: 0x0000000080010033, CR2: 0x0000000100009d3c, CR3: 0x0000000005d69000, CR4: 0x0000000000000660 RAX: 0x050505050505054d, RBX: 0x0000000000000000, RCX: 0x0000000002000000, RDX: 0xffffff8005621c08 RSP: 0xffffff801d85bd90, RBP: 0xffffff801d85be10, RSI: 0xffffff801d85be60, RDI: 0xffffff8005621c08 R8: 0x0000000000000000, R9: 0x0000000000000000, R10: 0x00007fff5fbffe60, R11: 0xffffff80002e46f0 R12: 0xffffff801d85be60, R13: 0xffffff8005662f40, R14: 0xffffff800562bfa0, R15: 0x0000000000000016 RFL: 0x0000000000000246, RIP: 0xffffff8000476967, CS: 0x0000000000000008, SS: 0x0000000000000010 Error code: 0x0000000000000000
Backtrace (CPU 1), Frame : Return Address 0xffffff801d85ba30 : 0xffffff8000204d15 panic + 0x260 0xffffff801d85bb30 : 0xffffff80002d11f4 _kerneltrap + 0x62b 0xffffff801d85bc80 : 0xffffff80002e3f1a returnfromtrap + 0xaa 0xffffff801d85bc90 : 0xffffff8000476967 _keventregister + 0xa6 0xffffff801d85be10 : 0xffffff80004784c5 kqueuescan + 0x4fb 0xffffff801d85bf10 : 0xffffff8000478692 kevent + 0x3c 0xffffff801d85bf40 : 0xffffff80004e8118 _unixsyscall64 + 0x220 0xffffff801d85bfa0 : 0xffffff80002e4834 hndlunix_scall64 + 0x14
BSD process name corresponding to current thread: launchd
Mac OS version: Not yet set
Kernel version: Darwin Kernel Version 10.7.3: Sun Mar 6 13:37:56 PST 2011; root:xnu-1504.14.2~1/RELEASEX8664 System model name: MacPro5,1 (Mac-F221BEC8)
System uptime in nanoseconds: 5371279550 unloaded kexts: (none) loaded kexts: as.vit9696.VirtualSMC 1.3.0 as.vit9696.Lilu 1.6.2 com.apple.driver.AppleUSBHub 4.2.0 com.apple.iokit.IOAHCIBlockStorage 1.6.3 com.apple.driver.AppleUSBEHCI 4.2.0 com.apple.driver.AppleEFINVRAM 1.4.0 com.apple.BootCache 31 com.apple.AppleFSCompression.AppleFSCompressionTypeZlib 1.0.0d1 com.apple.driver.AppleIntel8254XEthernet 2.1.3b1 com.apple.driver.AppleUSBUHCI 4.2.0 com.apple.driver.AppleAHCIPort 2.1.6 com.apple.driver.AppleACPIButtons 1.3.6 com.apple.driver.AppleHPET 1.5 com.apple.driver.AppleRTC 1.3.1 com.apple.driver.AppleSMBIOS 1.7 com.apple.driver.AppleAPIC 1.4 com.apple.security.sandbox 1 com.apple.security.quarantine 0 com.apple.nke.applicationfirewall 2.1.11 com.apple.driver.AppleIntelCPUPowerManagement 142.4.1 com.apple.driver.XsanFilter 402.1 - last loaded 5048669846 com.apple.iokit.IOUSBUserClient 4.2.0 com.apple.driver.AppleFileSystemDriver 2.0 com.apple.iokit.IONetworkingFamily 1.10 com.apple.iokit.IOUSBFamily 4.2.0 com.apple.iokit.IOAHCIFamily 2.0.5 com.apple.driver.AppleEFIRuntime 1.4.0 com.apple.iokit.IOHIDFamily 1.6.6 com.apple.security.TMSafetyNet 6 com.apple.kext.AppleMatch 1.0.0d1 com.apple.driver.DiskImages 289 com.apple.iokit.IOStorageFamily 1.6.3 com.apple.driver.AppleACPIPlatform 1.3.6 com.apple.iokit.IOPCIFamily 2.6.2 com.apple.iokit.IOACPIFamily 1.3.0
I’ve got the kernel panic and traced it back to the machine-type. Make-sure to use the 6.1 type, not newer, else it will panic. There must have been some change in 6.2 / 7.X that causes it.
Update: Seems like the installer boots but the installed system it self panics. I’m at a loss now.
Add a Comment